At the end of a brew day you’re left with three things: 1) delicious soon-to-be beer, 2) a little washing up to do and 3) spent grain. If you’ve ever reached into the brew bag or seive at the end of the day and tasted a little bit of spent grain you’ll know as much as I do that it still has quite a lot of flavour locked in there! That’s why I decided a long time ago that my spent grain was no longer destined for the compost heap and that I was instead going to investigate how to turn my malty sweet spent grain into delicious treats!
At this point, I’ve used spent grain for all sorts of things. From cookies to the crock pot and from cereal to steak rubs there’s nowhere that I won’t try to squeeze a little maltiness into. In order to take full advantage of your spent grain in all these facets some processing may be required. The grain can be used straight as it comes out of the mash tun. We’ll call this wet grain. This goes great in cookies and bread and basically anything that is made from a dough. Wet grain brings with it a little moisture and so a dough is the perfect way to use it. If does, however, tend to get a little smelly after a few days so be sure to store wet grain in an air-tight container such as a zip-lock bag in the fridge. If you would like to store your spent grain for a little while, or use it in a recipe where moisture is not ideal, then follow the instructions below on how to make spent grain flour!
- Set your oven to the lowest temperature possible (around 50 degrees C).
- Line a suitably sized baking tray with parchment. Not essential but it prevents the grain burning to the bottom of the tray.
- Tip the spent grain onto the parchment and spread out into a thin layer. The layer should be no more than an inch thick. Any more is fine but the grain will take much longer to dry.

- Place the tray in the oven overnight. This will produce quite a lot of moisture. If you like (or if you’re trying to dry a lot of grain) you can stir this periodically, ensuring to turn the grain over, exposing the wet grain to the surface.
- After around 8 hours (overnight-ish) give the grain a final stir. Consider mixing the grain with your fingers to assess the water content. Alternatively, you could simply take a piece of paper towel and rub this through the grain. If you deem the grain to even slightly wet at this point then it must go back into the oven until completely dried.
- If this process it taking a very long time, consider removing some of the grain. The time it takes to dry the grain increases dramatically as more grain is added.

- Transfer your, now dry, grain into a zip-lock bag or other container. This can now be kept in a cupboard basically forever! Adding this to cookies, cereal, bread, pastry etc. as-is to provide a little malty crunchiness.
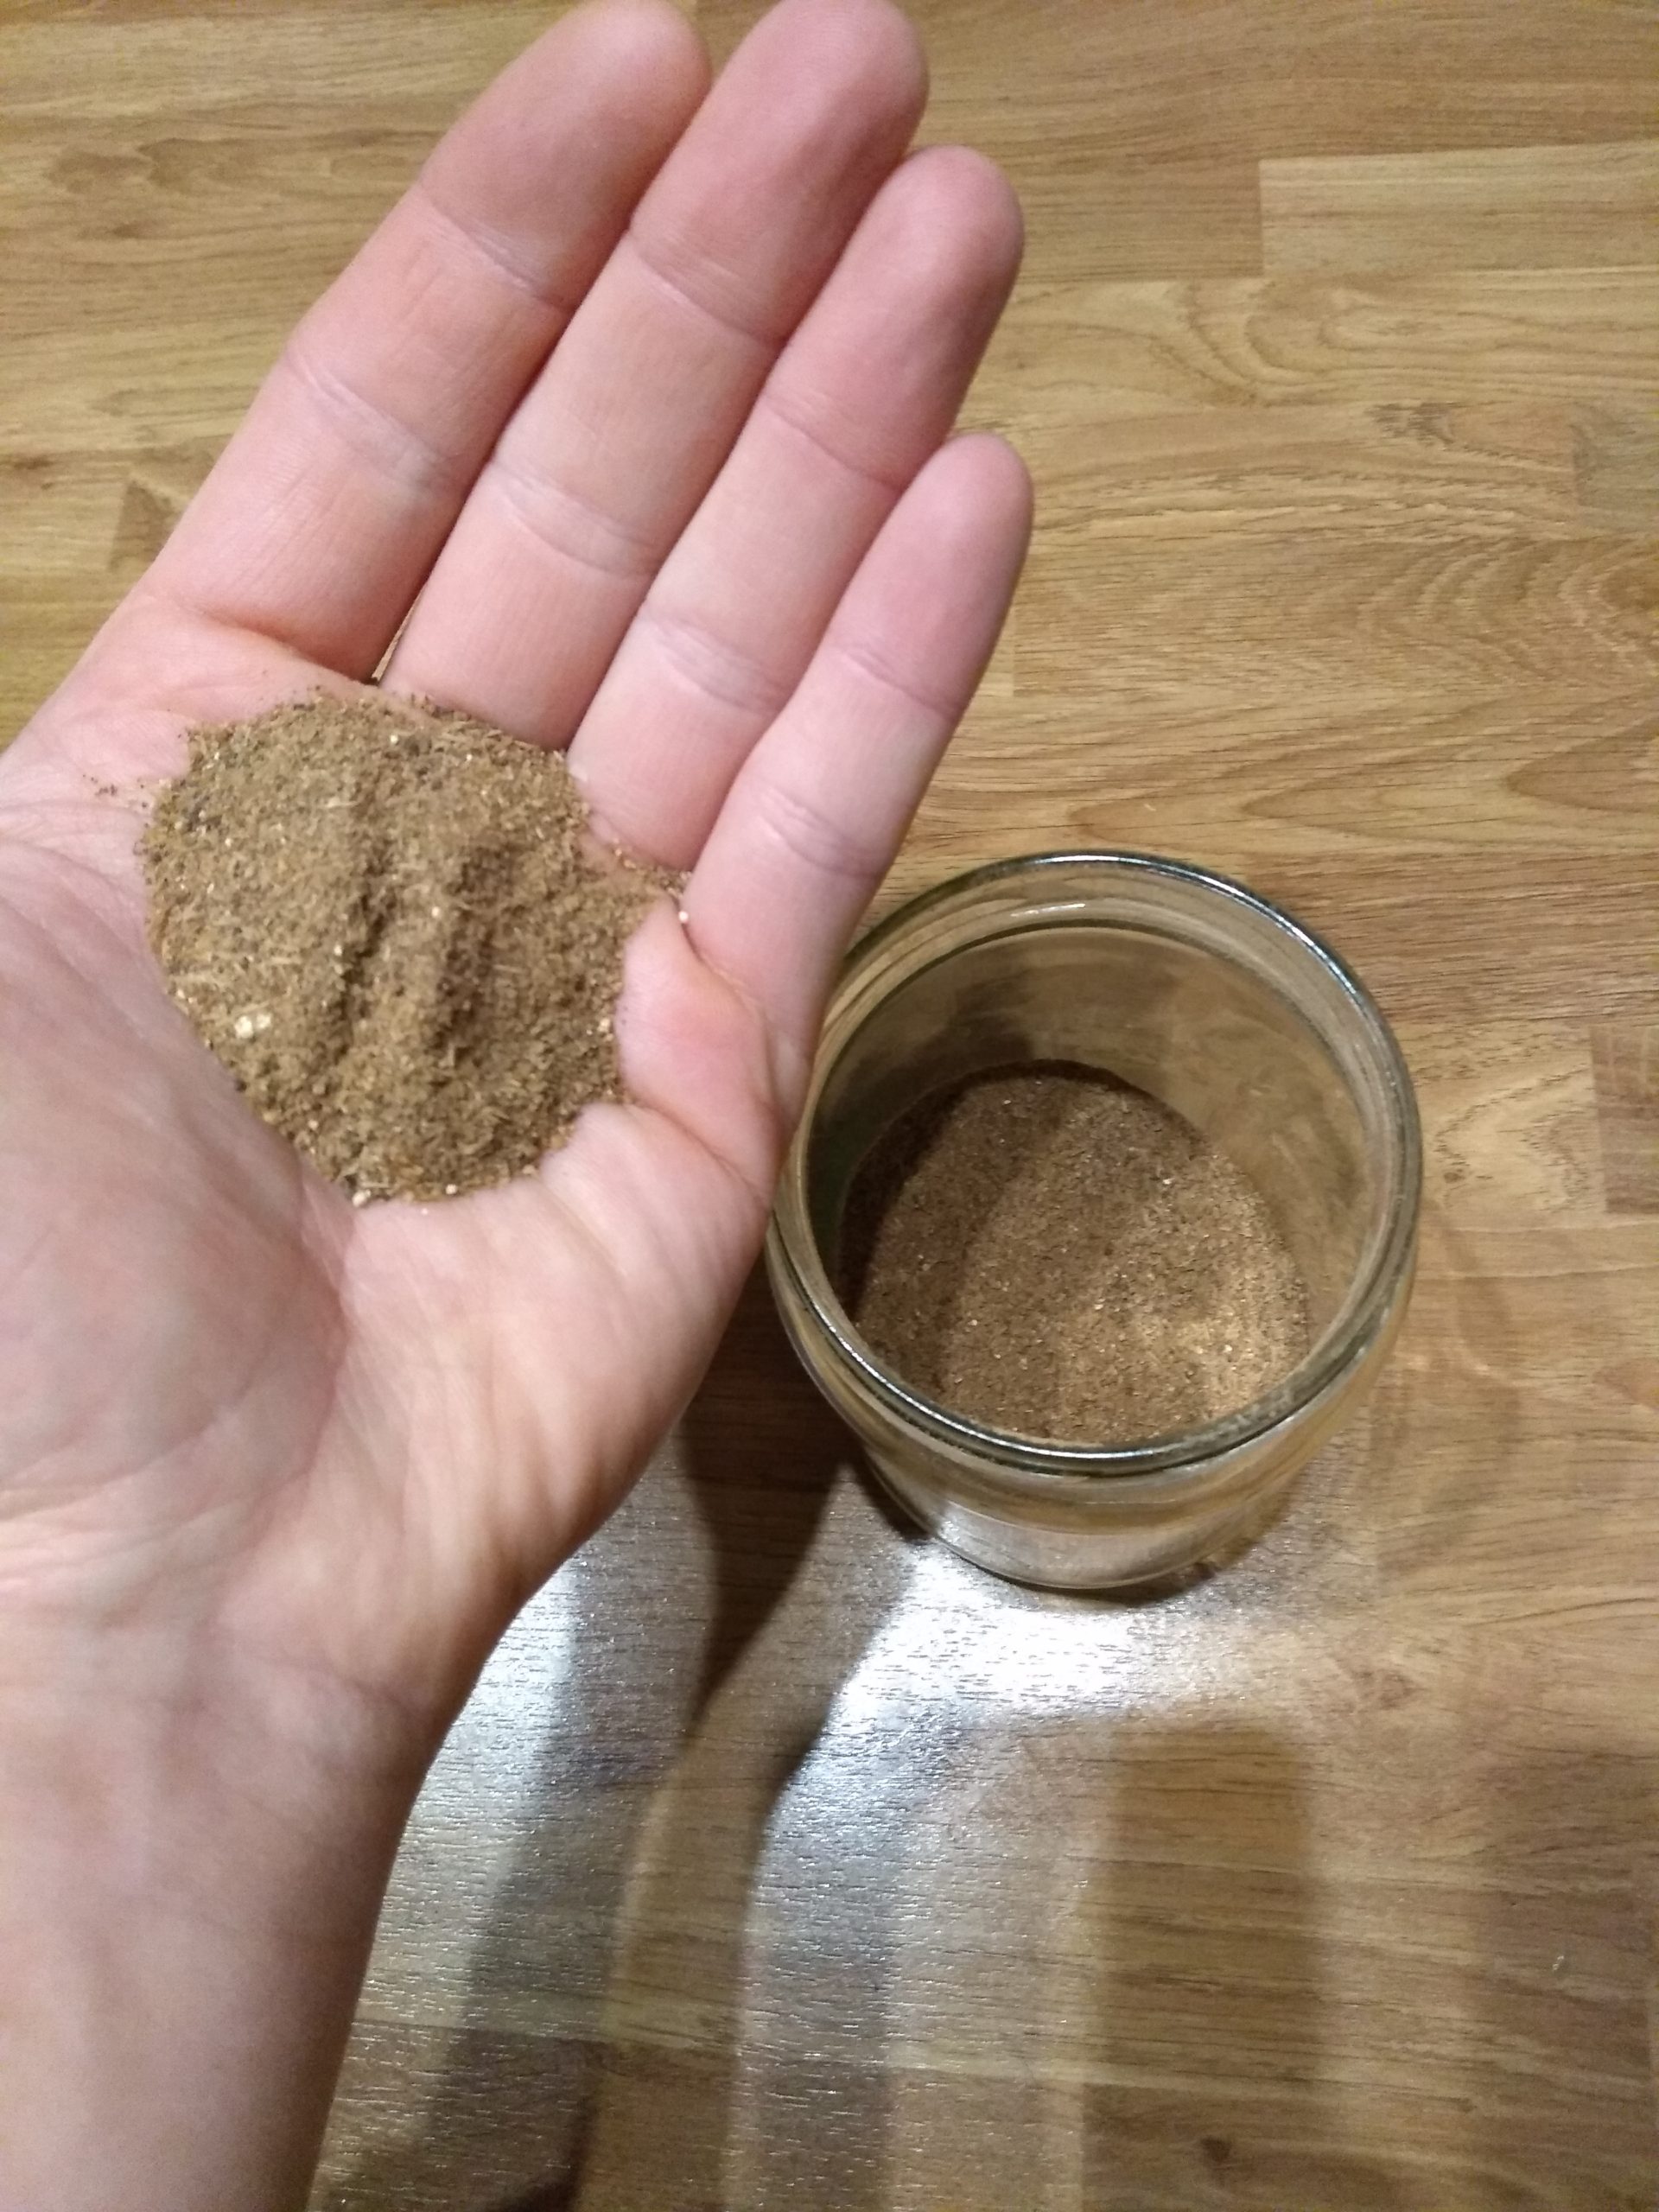
- If you would like to make flour out of the grain then simply transfer some into a blender or electronic coffee grinder. If you’re a braver person than me, you could even use a mortar and pestle! If using an electronic blending method be sure to stop blending and stir every so often. Grains generally contain some fatty content. As this is blended, it can cause the flour to become sticky which then forms clumps.

- Now simply transfer your freshly-milled flour into an air-tight container. Again, this can be stored indefinitely or can be used straight away in bread, to make a delicious malty meat rub or to thicken a soup. The possibilities are endless!!!
Happy cooking!
Jim
We recently. bought a kit from you at Bakewell Christmas market, we sampled some of the beer which was wonderful, and tasted some of ‘malt loaf’ which was amazing! Do you have a recipe for the malt loaf by any chance? i think you said you were trying to put the recipe on your page – it would be much appreciated!
Thanks in advance.
Hi Erica, we will put the recipes up for the cookies and flapjacks very soon! I hope you enjoyed making the beer, I will let you know when they’re up!